Install CoGui client application
Download page of this web site provides links to CoGui installers.
The installer has been successfully tested. But, for now, you may have problems using an installer for another operating system. It is advisable, in this case, to use the platform-independent ZIP file. Extract it to any folder on your system and run the executable file located in the cogui/bin directory.
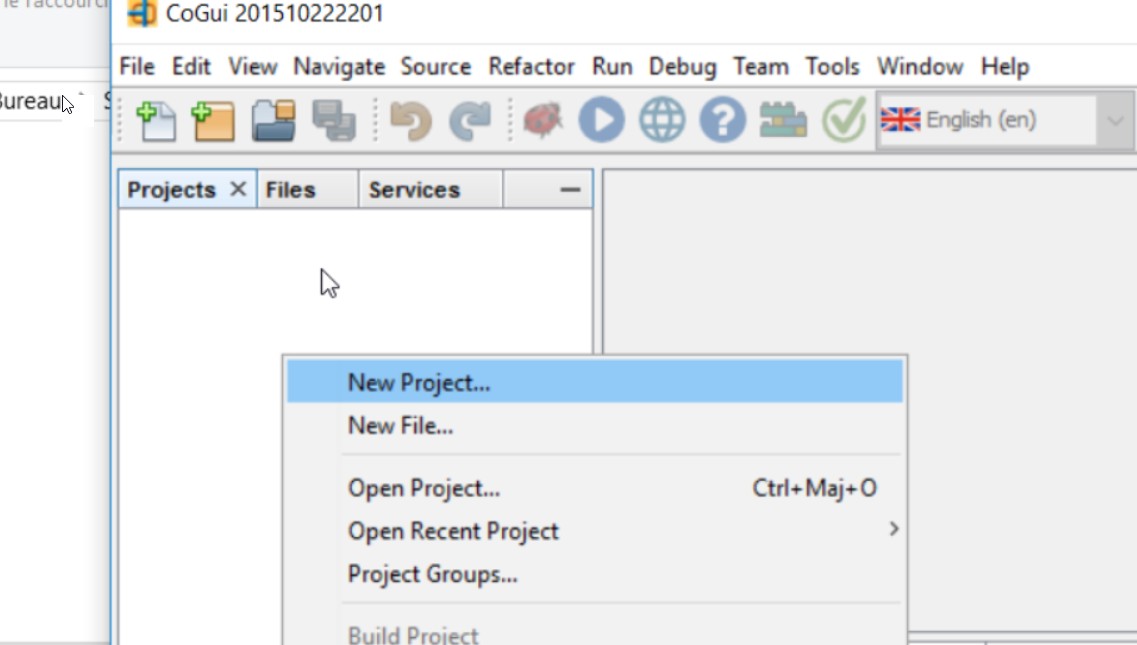
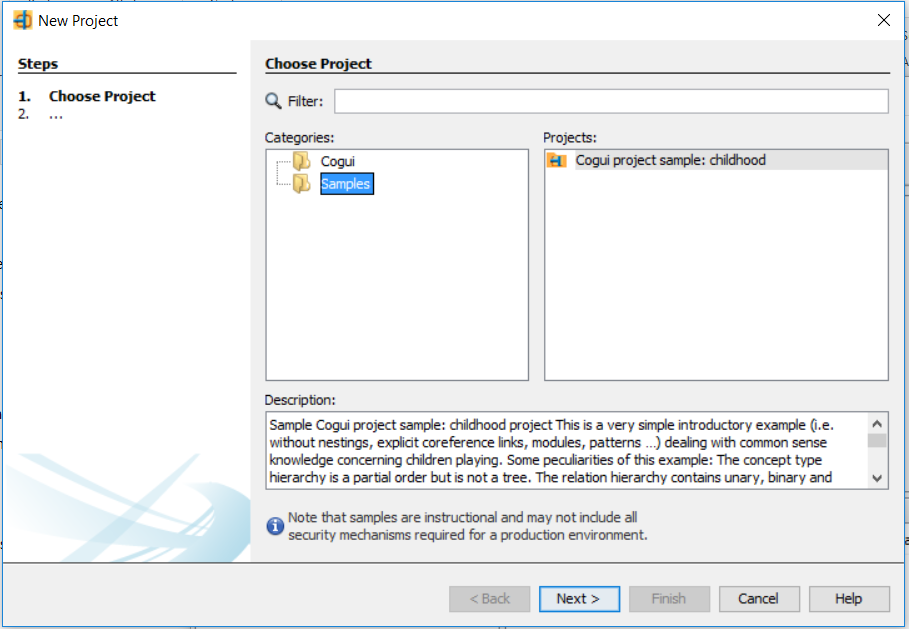
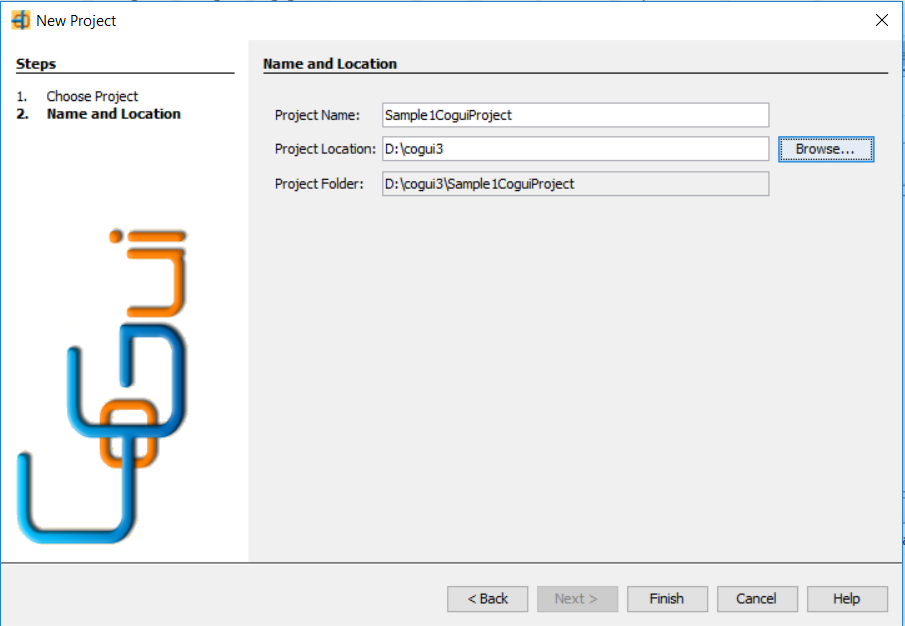
Create a new projet based on "Chilhood" example
The command "New project" allows you to create an empty project or to create a project already containing some elements that will serve as an example or template.
Browse project tree
After creation the projet tree placed on the left panel is populated. You can browse through the project to get an idea of what sort of funtionality is provided.
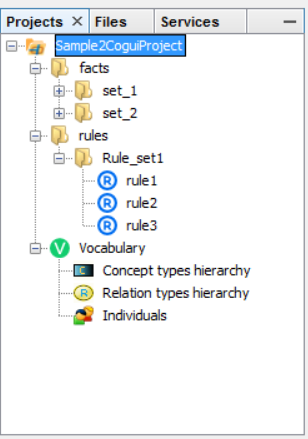
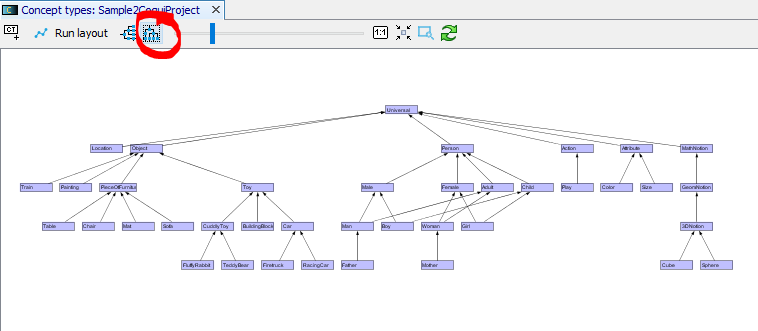
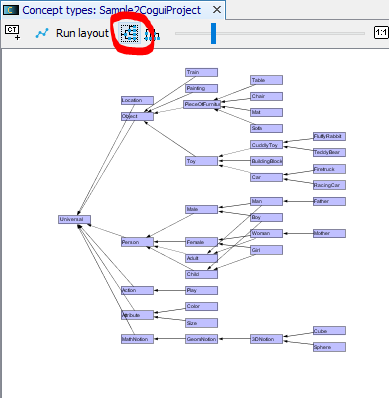
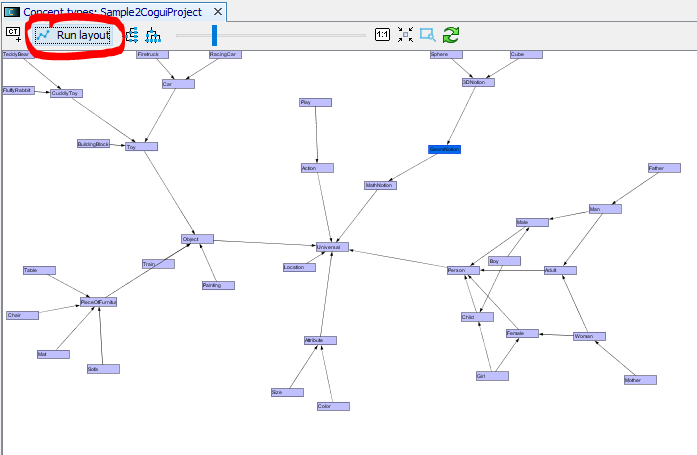
Concept type hierarchy
You can search and browse through the concept type hierarchy using the tree-like structure on the right panel.
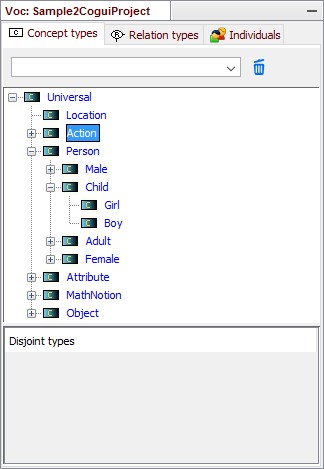
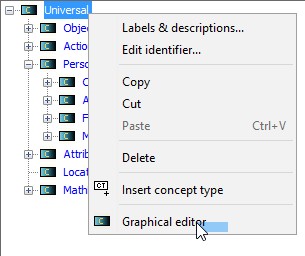
By double clicking on any type or by using menu command you can visualise the concept types in a graphical representation.
Of course, the two representations are synchronized and we can edit the graph in one or the other of the two editors.
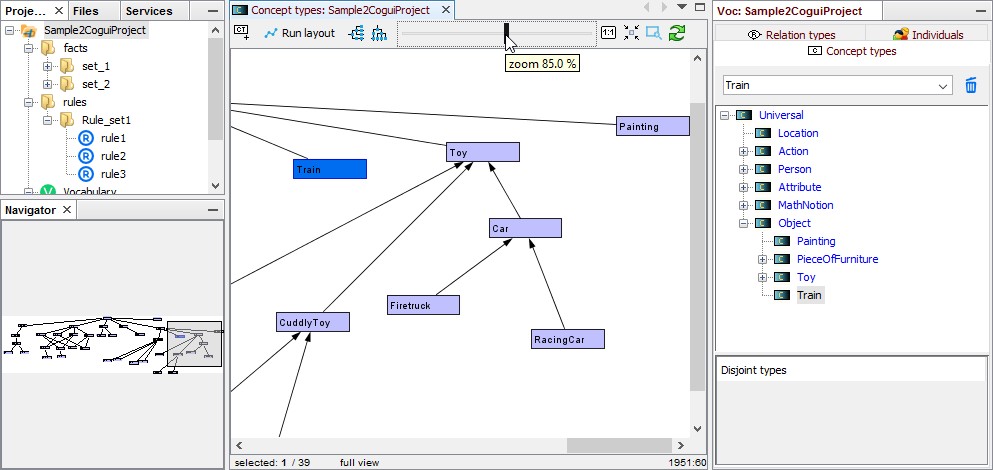
Please note that several tools help to navigate throughout the whole hierarchy.
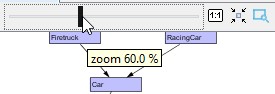
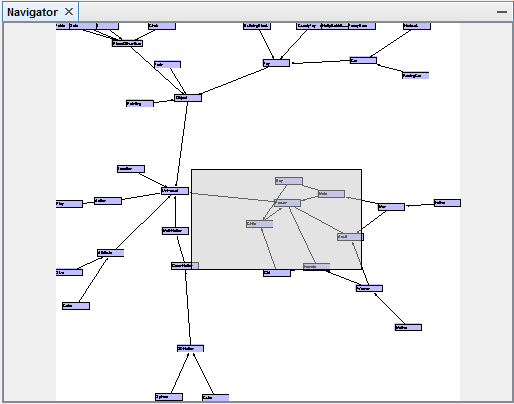
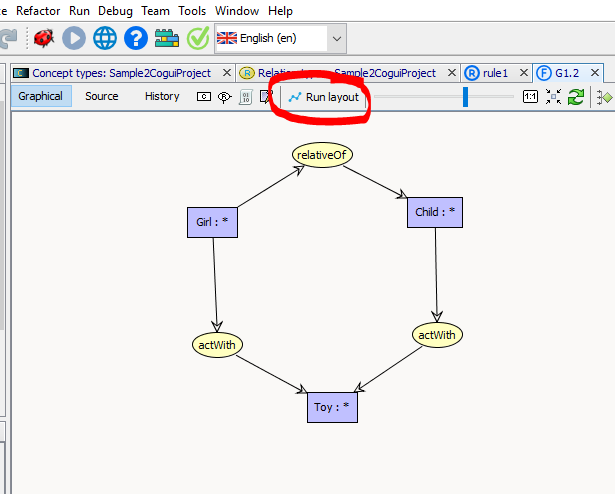
The graphs can be rearrange by using different layouts.
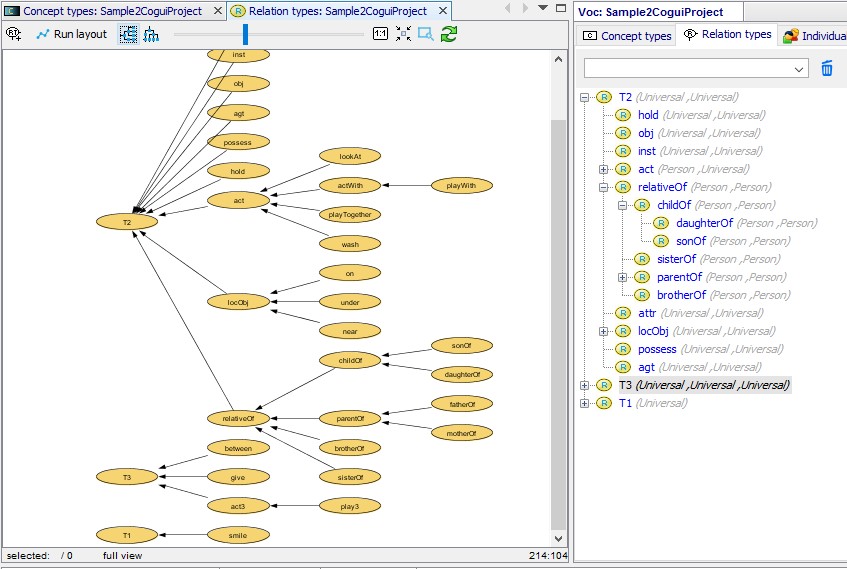
Relation type hierarchy
You can visualize and edit the relation type hierarchy in the same way as for the concepts.
Please note that Conceptual Graphs allow also n-ary relations, not only unary and binary.
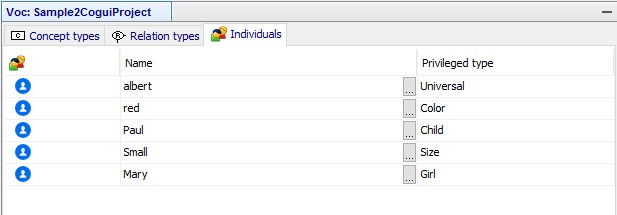
Individuals
Individuals complete the vocabulary definition.
Please note that the list is automatically populated when new individuals appears in the knowledge base.
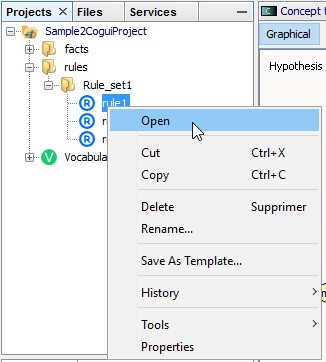
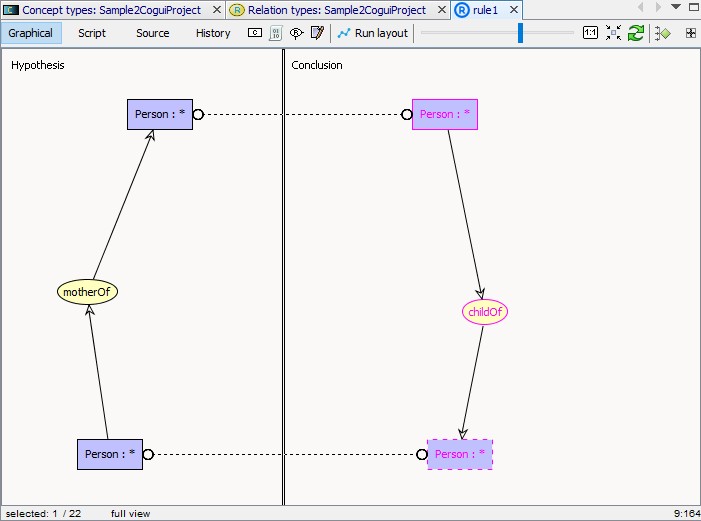
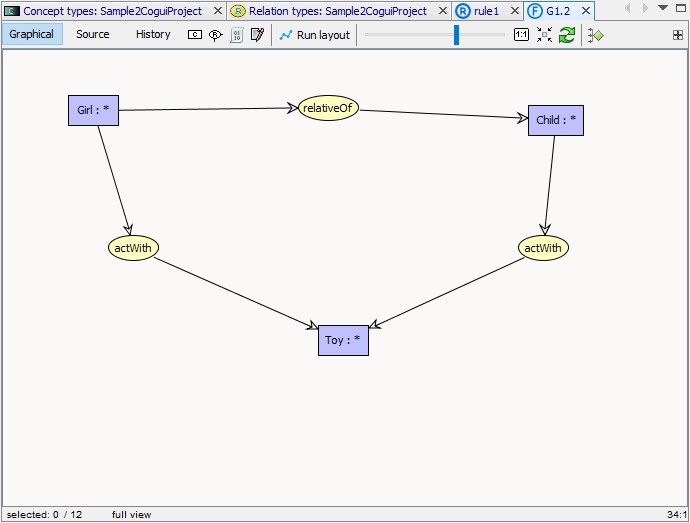
Rules
Rules are also visually represented. The visual depiction of the rule makes it particularily useful when modelling complex domains.
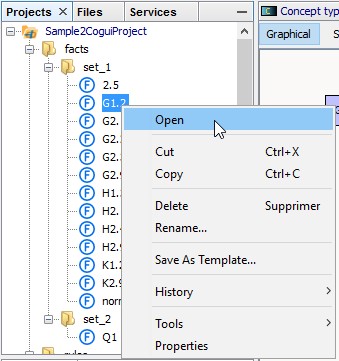
Facts
A set of facts are preloaded in the example. Facts can be visually represented and edited, just like rules.
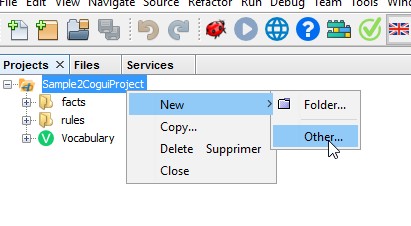
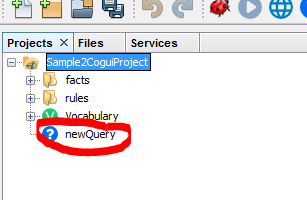
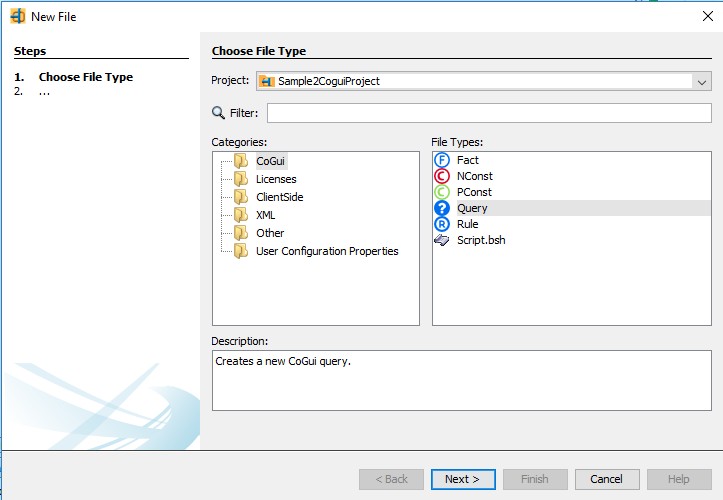
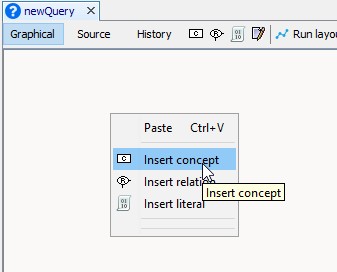
Create a query
You can now create a query in the project. Queries can be created and edited graphically, just like facts and rules.
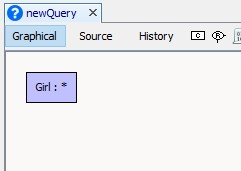
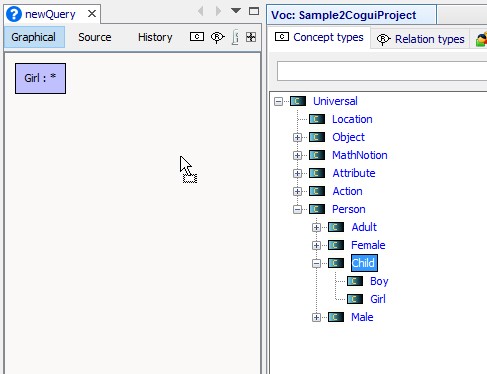
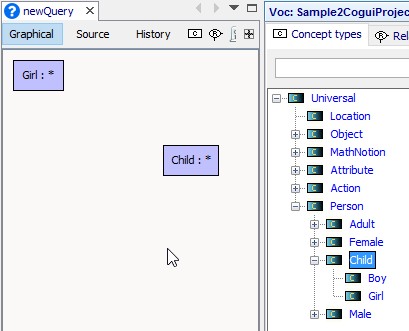
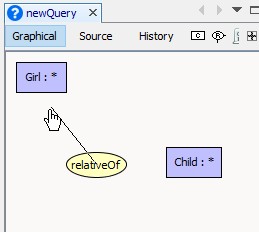
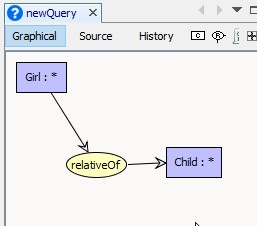
You can now start writing your query by adding concepts and relations respectively.
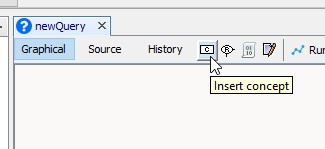

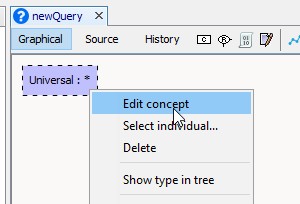
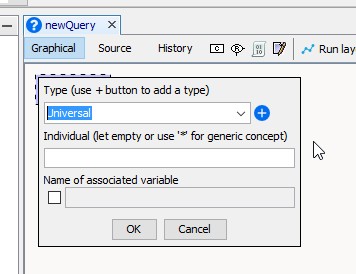
Another way to create the well-typed concept is to drag the type from the right panel containing the concept hierarchy to the editor containing the query.
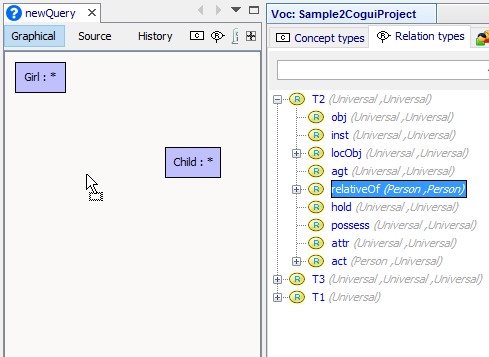
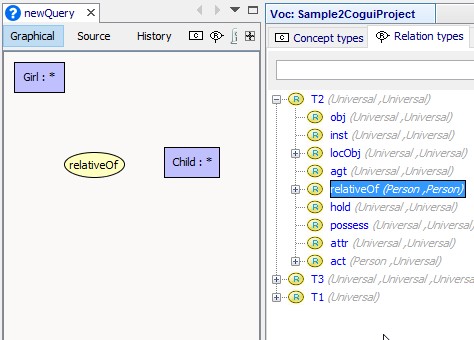
Finally, use the mouse (Left-Click) to connect the relation with the concepts.
Please note that the edges connecting vertices are ordered.
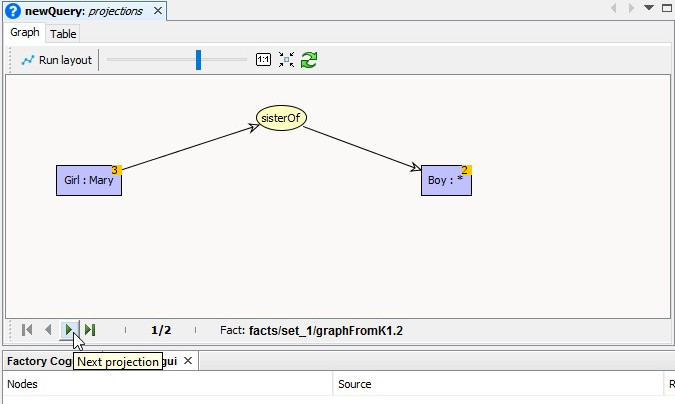
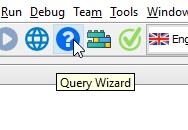
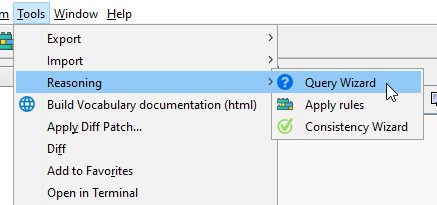
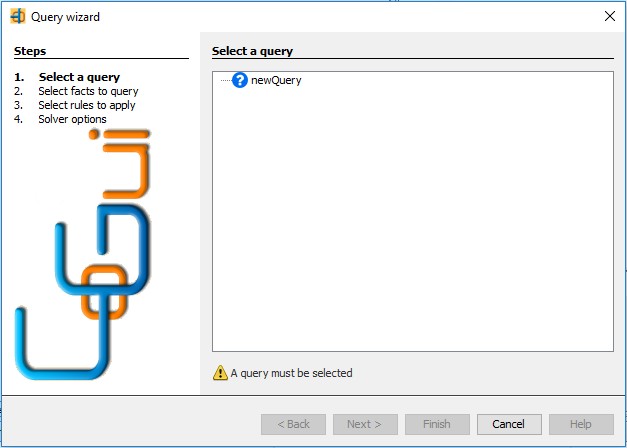
Query the knowledge base
You can now start the query wizard.
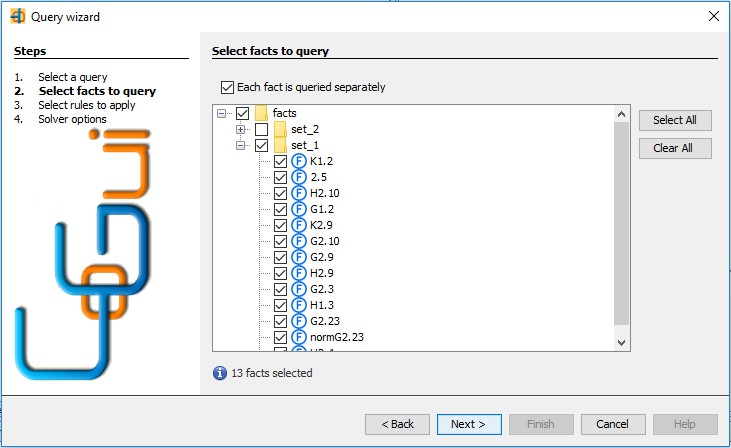
Select the facts to query
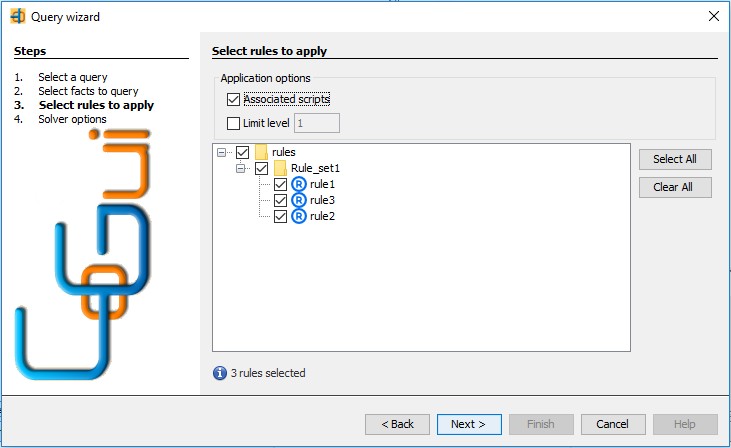
Select the rules to apply
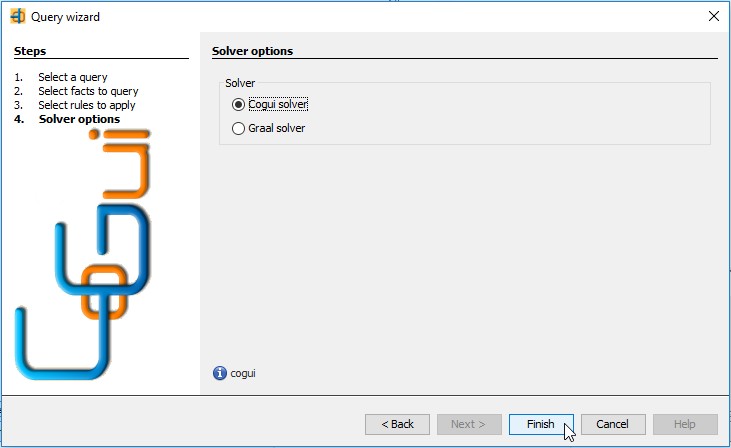
Select the solver and finish.
Browse throught the results.